While the Wiki does an excellent step by step installation of the Proxmark, I thought I would write on my experience as I did overlook a step of configuration that lead to some brief confusion. It should also be noted that there are multiple recommendations made of avoiding installation on a virtual machine, though I was able to accomplish this with no issues.
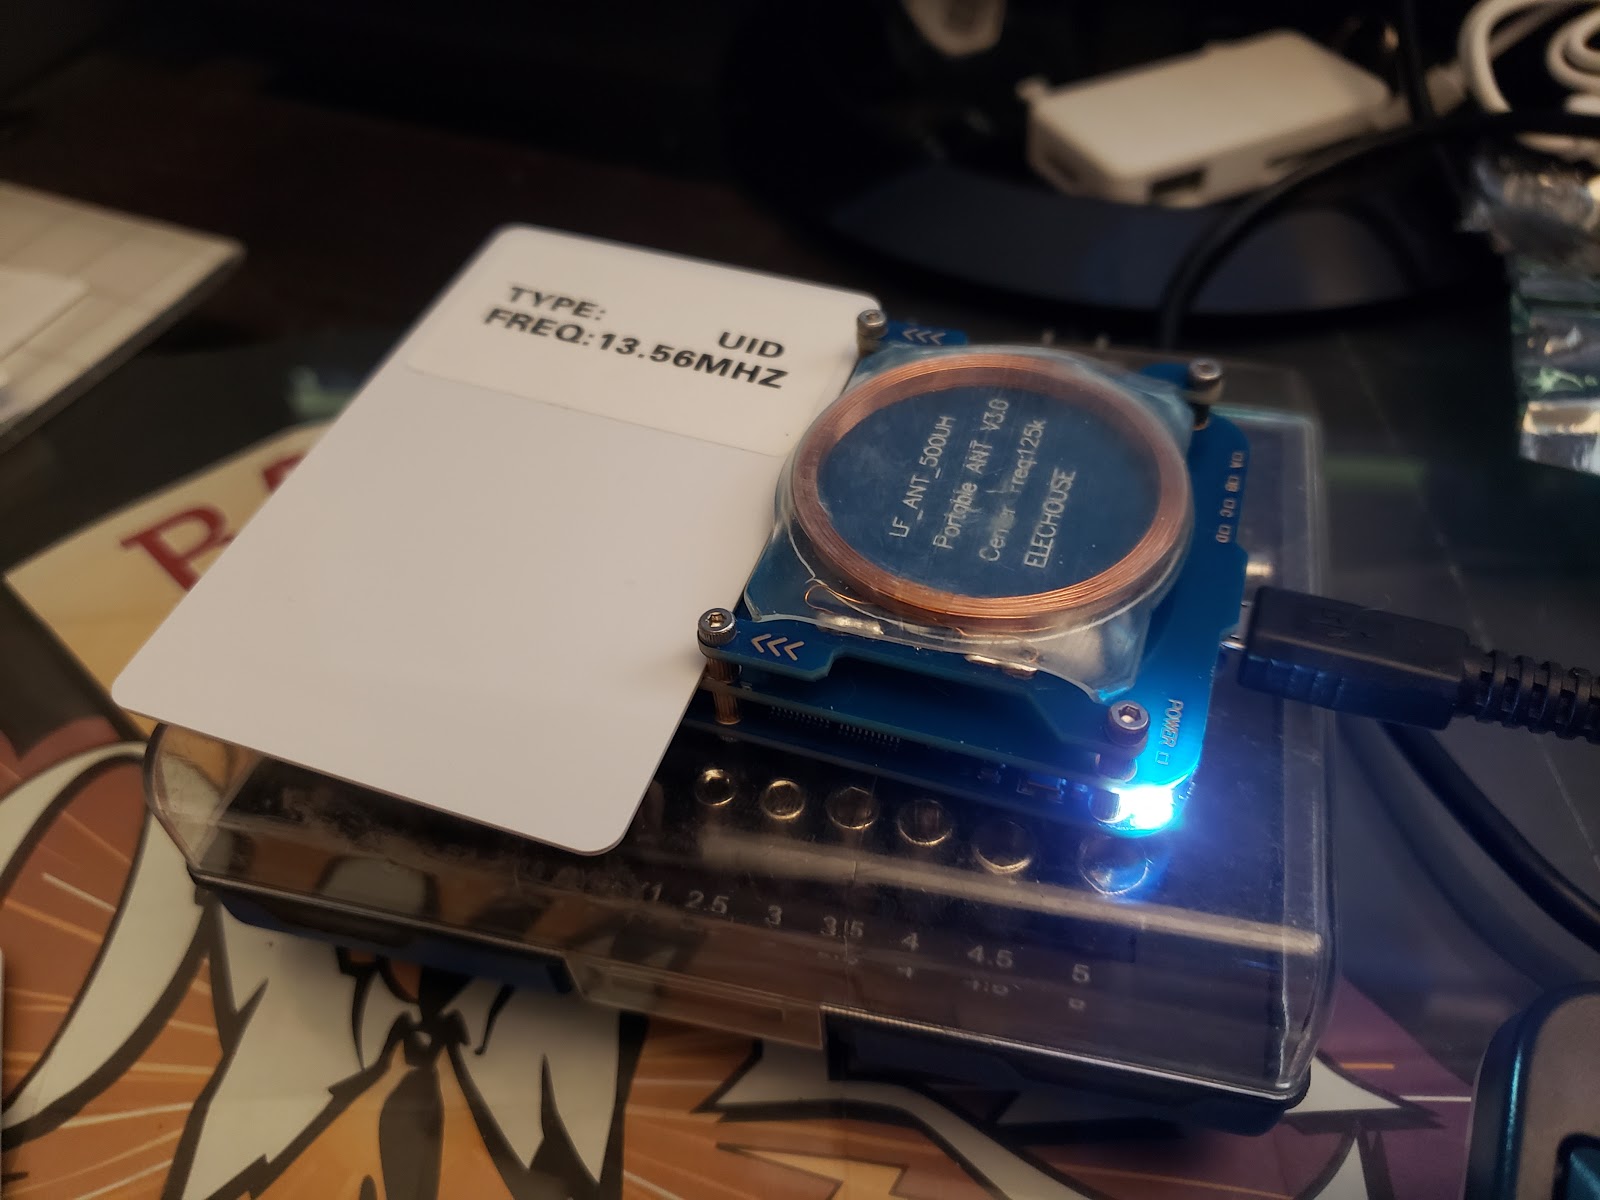
Another note would be that the USB interface used is identified in the picture below. The side USB interface is for powering for standalone or field mode operation in combination with a power source such as a battery pack.
Windows 10
If you are running a virtual machine, your host machine needs to have the appropriate driver in order for your device to be accessible to your VM.
We must first download and extract the following
Once extracted we need to disable driver signature verification. There are two ways to achieve this:
Option #1 enable test signing
Right click CMD Prompt and 'run as administrator'
bcdedit /set testsigning on
Once done installing the unsigned drivers we can disable it once again with
bcdedit /set testsigning off
If you get a return of "protected by secure boot", you have secure boot enabled in your UEFI and will have disable it, or use option #2
Option #2 Windows 10 Boot Options
Restart while holding 'Shift' to boot into Windows 10 boot options. Click 'Troubleshoot' --> 'Advanced options' --> 'Startup options' --> 'Restart'. Following restart select '7: disable driver signature enforcement' by typing the number 7.
With driver signature enforcement now disabled we want to plug in our device and wait for auto driver installation to fail.
In Device Manager under Ports we will see the device. Right click --> update drivers --> let me choose.. --> 'Have Disk' and browse to the ProxSpace\pm3\driver location of the zip we just downloaded moments ago.
After installation we should see it labeled as "Proxmark" in Device Manager and we can configure in the VM as you would.
Kali Linux
Open Terminal and check for updates prior to installation using apt or apt-get
~$sudo apt update && sudo apt -y upgrade
Above will check for updates and then install them agreeing to any installation required and it's dependencies.
Once our system is up-to-date, we can install build essentials with:
sudo apt install git build-essential
Now we use git to get the repository:
git clone https://github.com/Proxmark/proxmark3.git
Once finished we can move the directory
~$cd proxmark3
Now with our Proxmark3 easy, we need to create a file in the root directory prior to making our bootrom. This is a step I missed as all makes make the default boot ROM for hardware version 4, and ours is v3. Apparently I could run 4, but after doing so my Proxmark3 became unresponsive. I will follow up with at a later date.
To create the file we can use Nano
~$nano Makefile.platform
And in this file we add
PLATFORM=PM3OTHER
and save
While still in the Proxmark3 directory we can make our file
~$make clean && make all
Now we can switch to the client directory
~$cd client
~$make
While holding the button down on the side of the Proxmark3 we can flash the bootrom
~$./flasher /dev/ttyACM0 -b ../bootrom/obj/bootrom.elf
If flash was successful we should see a screen that ends in " have a nice day"
that indicated the default support values for the Make file is for the Proxmark3 rdv4. So with that discovery I created a file in the root directory as indicated and used the value of PM3OTHER and remade the installation by doing a make clean && make install
Comments
Post a Comment