6J1 Tube Amp Case update
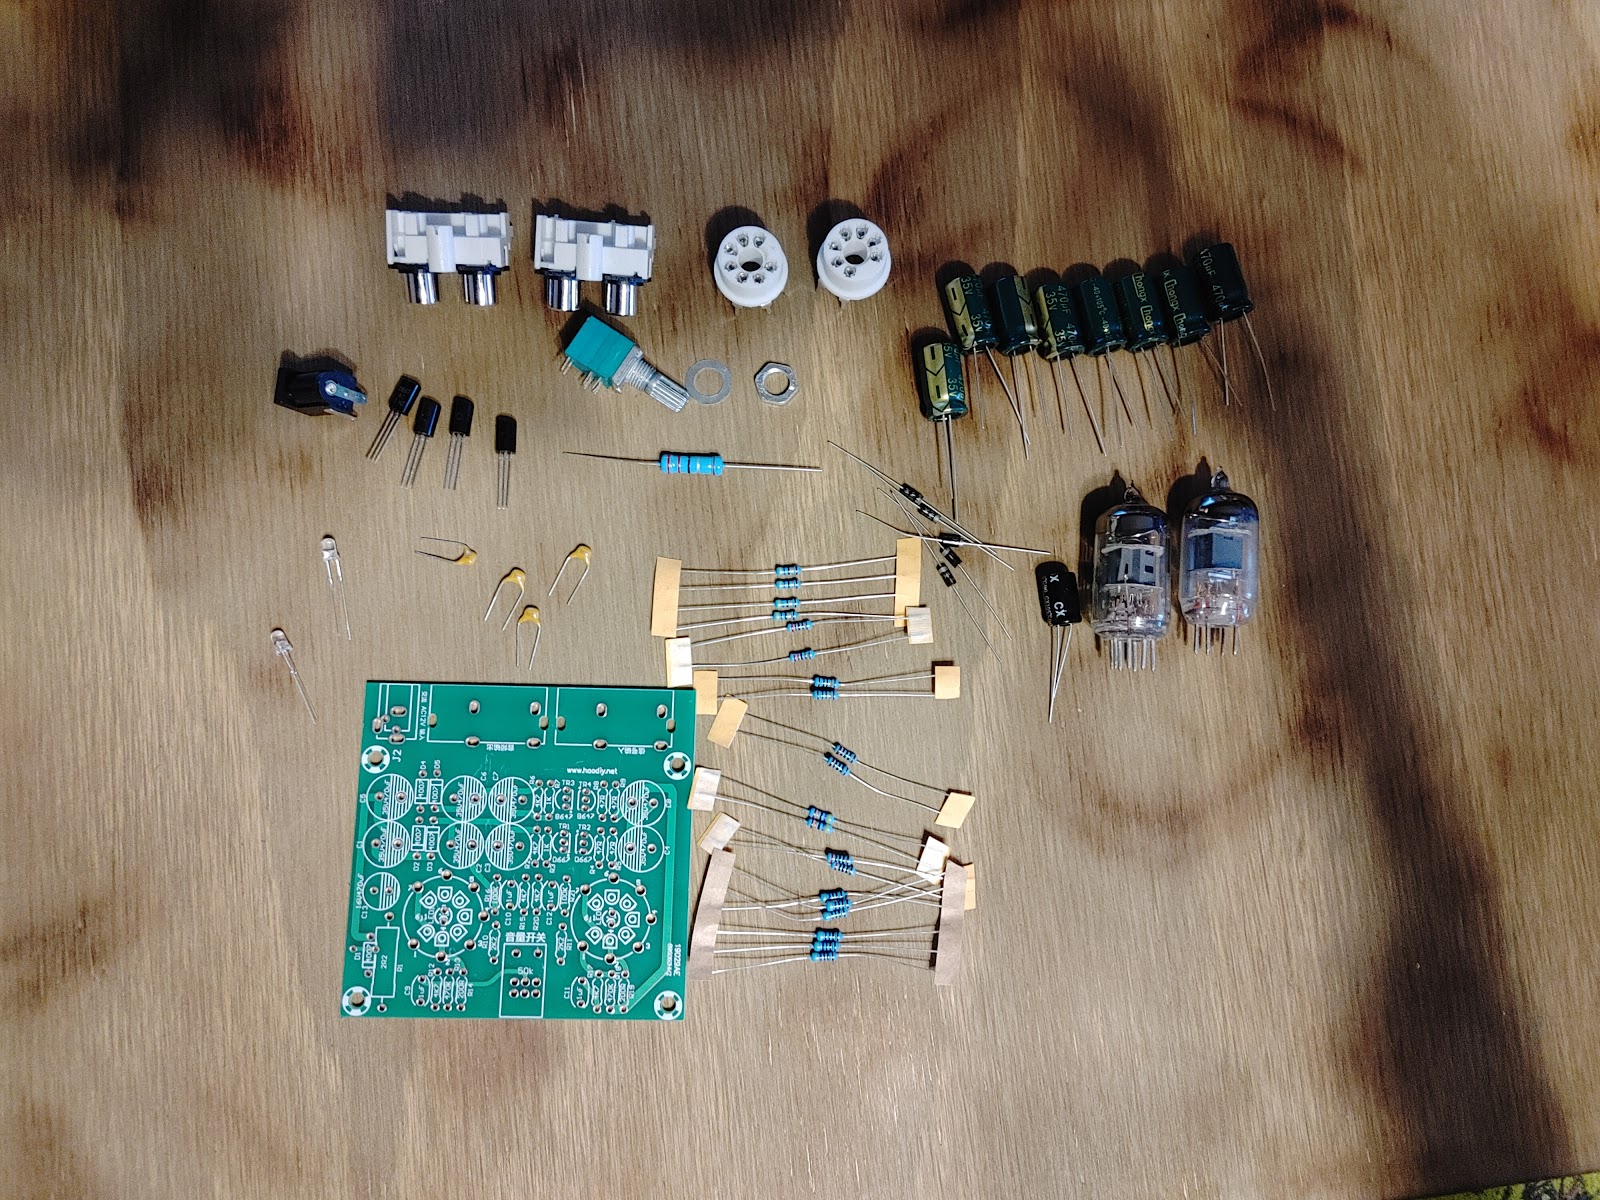
With a positive response to the design over the last week, I decided to purchase the other model of the 6J1 preamp to build for a friend while providing the opportunity to ensure it would fit smoothly in my case.
Everything looks the same though this model seems a but scaled back with 35v caps over my firsts 50v.
Side by side, I believe the blue board wasn't cut to size as it has an additional 1/4 (give or take) on the PCB, but regardless these boards are physically similar.
Until I am able to finally get my Lowrider CNC up and running, I have found printing the dfx to scale makes a perfect stencil to achieve more accurate layout of the plexy glass.
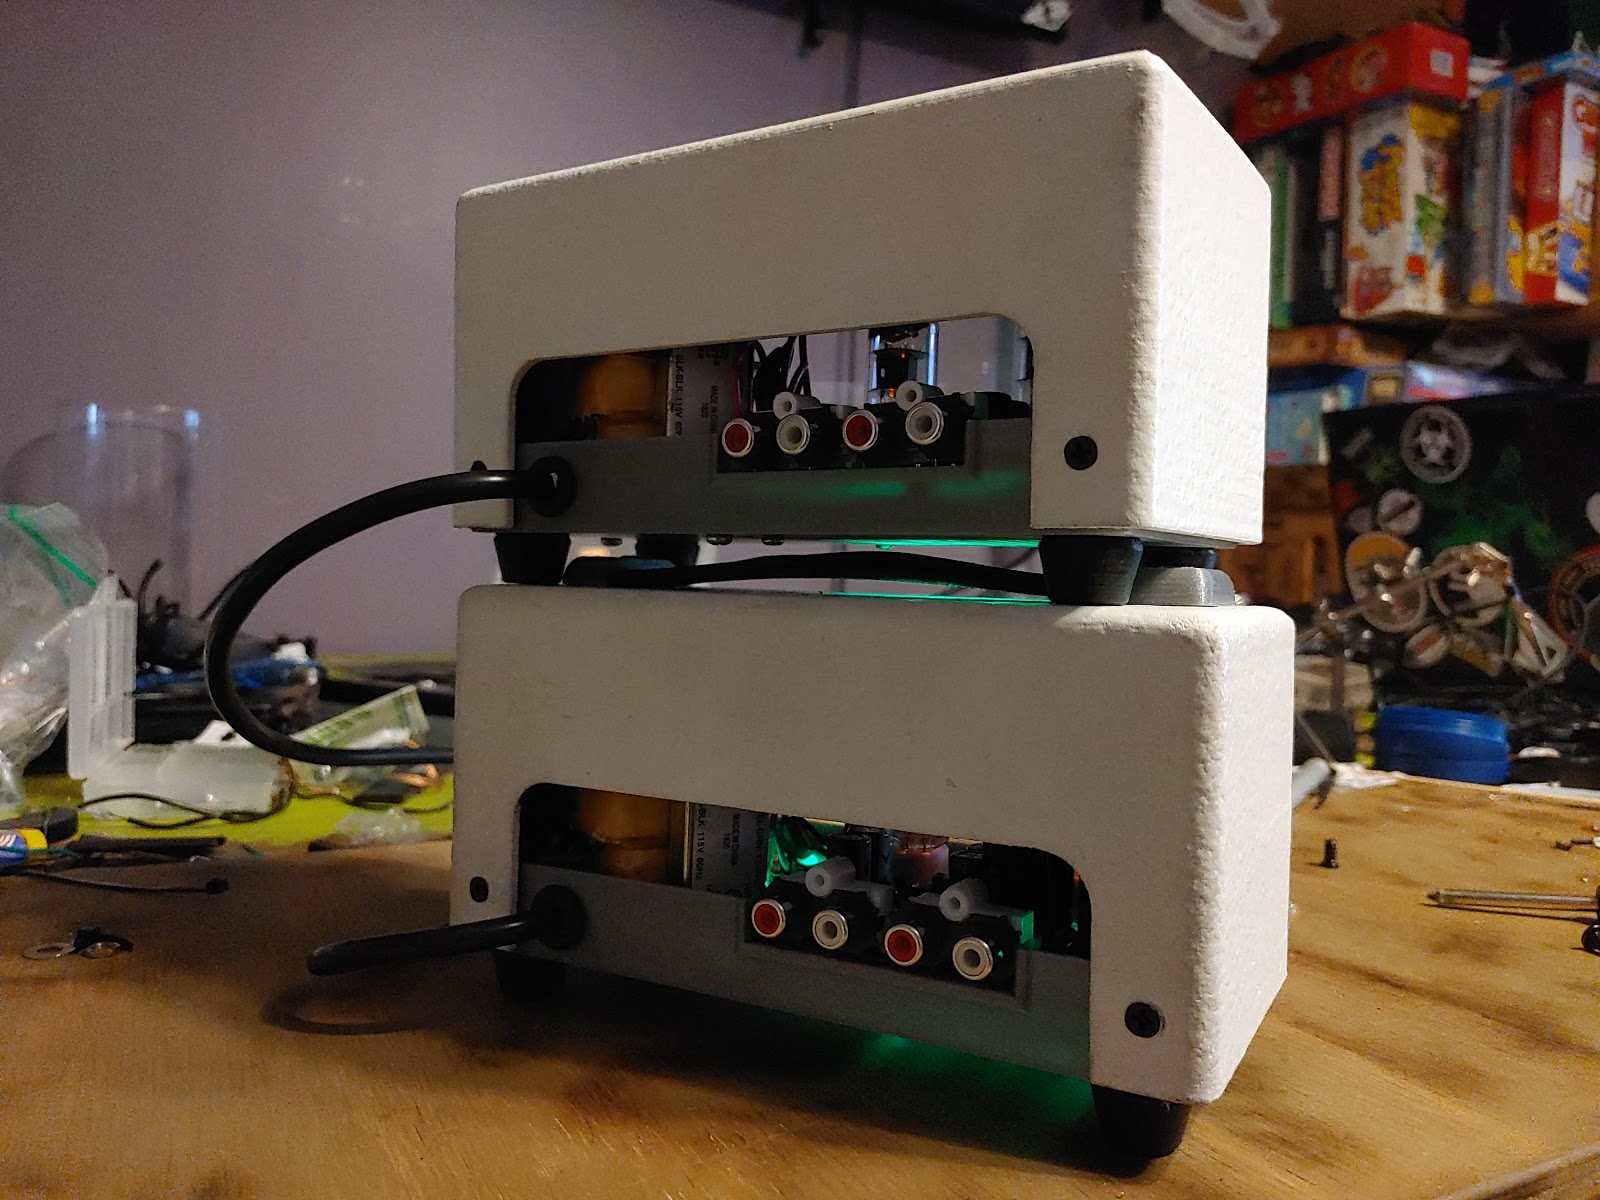
Following through the rough draft of the instructions so far, I was able to quickly assembly the second one.
Side by side, I believe the blue board wasn't cut to size as it has an additional 1/4 (give or take) on the PCB, but regardless these boards are physically similar.
Unfortunately the new board didnt come with the brass standouts as included in the last package, so I designed a standoff tray that can be printed.
The tray works as expected and prints in a short amount of time.
Below is a complete run of parts totaling approximately 26 hours at .2 layer height.
Until I am able to finally get my Lowrider CNC up and running, I have found printing the dfx to scale makes a perfect stencil to achieve more accurate layout of the plexy glass.
Following through the rough draft of the instructions so far, I was able to quickly assembly the second one.
Hoping to finish up the work this week by cleaning up some files and sharing on Thinkinverse.


Comments
Post a Comment